What started as a dream in 2014 when I decided to look for a new house, became reality in 2015 when I bought the house, and has been a saga ever since construction started, is finally starting to look like a house that someone can actually live in. Like the saying goes, “Picasso didn’t paint the Sistine Chapel Ceiling in a day. A masterpiece takes time.” Despite the duration of the project, it should pay off in the end with a little patience.
The Construction Loan
Faithful readers will recall my first blog post in which I explained I took out a 203K loan instead of a traditional mortgage to finance the purchase of the property and the construction costs. The bank gave me a standard six-month time frame to complete the construction and pay out the funds to my contractor in six intervals. Well, it’s been over 2½ years now and they are out of patience. They extended me so many times I can’t remember. They said it absolutely has to be done by August 31 or they will cut me off and stop dripping funds to the contractor.
Given that I’ve been carrying the mortgage on my current home along with the mortgage on the new house since late 2015, and we are over budget anyway, this is becoming a bit of a stressful situation. I’ve had to resort to taking a loan against my 401K and taking out several new credit cards that have 0% financing for the first 18 months as a way to bridge loan myself some extra money to carry me until I can sell my condo and pay all of it back. Also, I have to show the bank that enough of the house is done to pay out the remaining portion of the loan by the end of August.
So, I had to light a fire under everyone who was working on the house. Things had been moving at an OK pace, but we needed to make sure there is literally no downtime, and that any decisions or materials that need to be ordered are taken care of ahead of time so there are no more delays for waiting for something. All of it is basic project management stuff, lay out ahead of time what is needed and what steps have to be taken, and be ready to work when the time is right.
I’m hopeful we are going to be in good shape headed into August. Plenty of progress has been made and I’m looking forward to seeing what the house looks like as it is built. This story left off with us passing the insulation inspection. I’ll pick it up from there.
Drywall
The drywall was delivered in late May. I gave a deposit check to Doctor Drywall and we got ready to proceed. As was always the case with this project, even that wasn’t without some sort of issue. Apparently, the delivery service wanted to use a crane to lift the second-floor drywall through a window rather than carry it up stairs. My street is so narrow that they would have had to had the police close off the street in order to operate the crane. So, after a week, they abandoned that idea and decided to charge me an extra $1,000 for them to carry the drywall upstairs. Not sure why we couldn’t have just done that from day one, but either way, we got all the drywall delivered and ready to go.
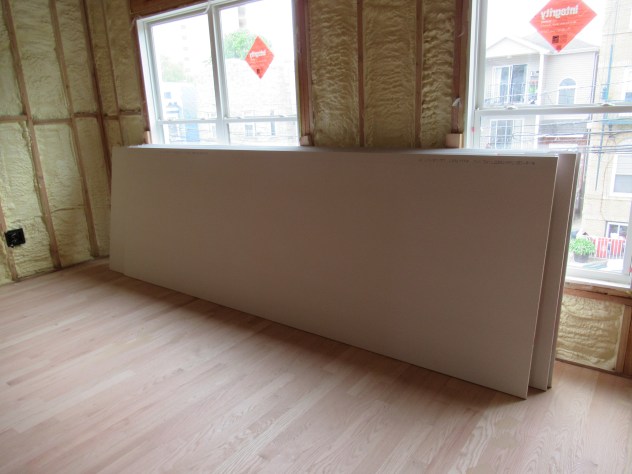
The upstairs drywall, had to pay extra for delivery!

The first floor drywall. I wasn’t impressed with the effort the gentleman by the window was putting in that day. I guess he wasn’t too interested in impressing the owner of the home with his work ethic.
Drywall installation is a surprisingly quick operation. I showed up on a Friday to see the drywall delivery, and by the next Tuesday, I returned to see most of it installed. They made a huge mess out of the place in the process, but we keep a clean jobsite so it was easily removed over the course of the week.

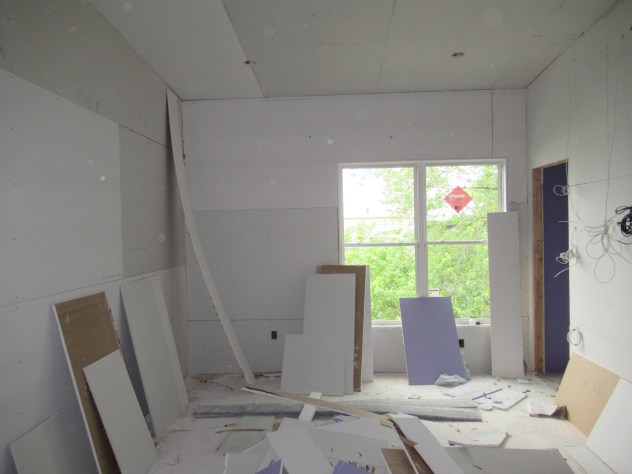
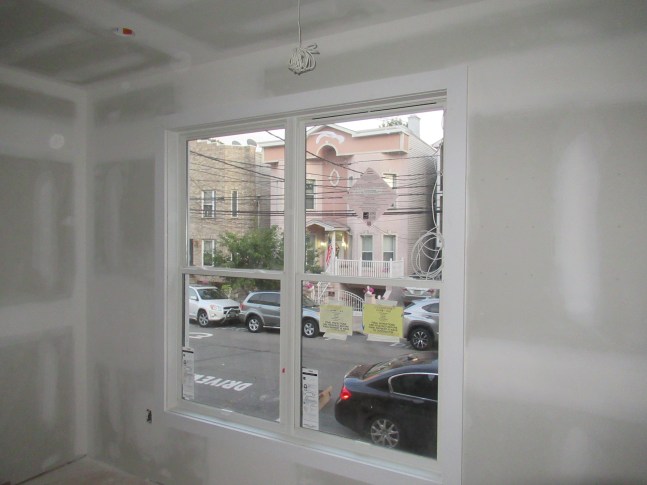
Drywall in the front bedroom

Drywall and cement board in the guest bathroom

Drywall in the middle bedroom, including the Cattywampus Corner for the fume hood.
The master bedroom being walled.

Cement board in the shower in the master bathroom.

The first floor under construction
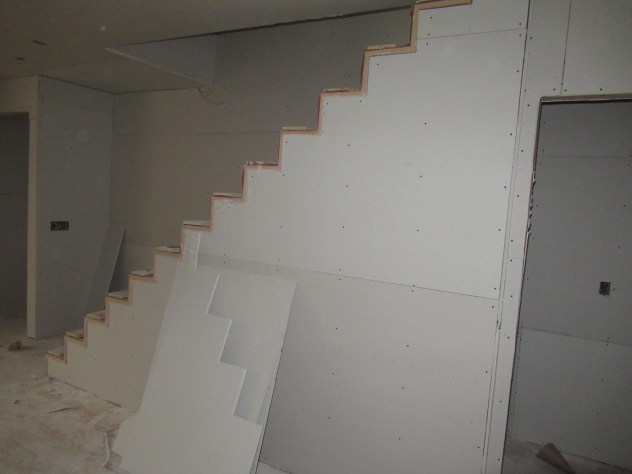
The wall below the front steps taking shape.
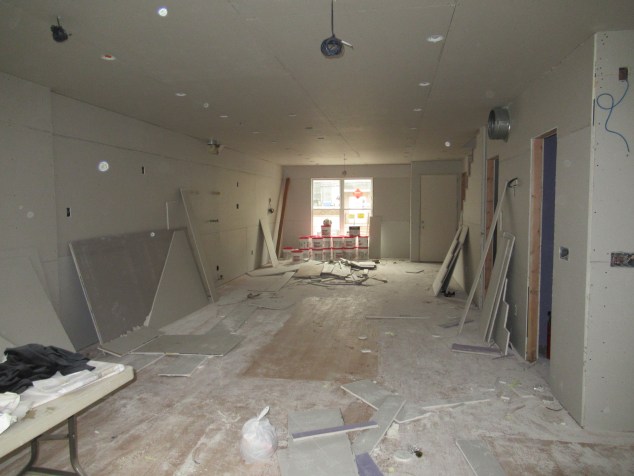
Another angle of the messy first floor.
Once the drywall was installed, it had to taped and spackled. This took about a week or so and was a pretty uneventful process. No delays or issues popped up.

That’s a lot of spackle!

The living room taped and spackled.

The first floor taking shape.

The front bedroom after being taped.

This guy can spackle while walking on stilts! WOW!
There was some trouble with the basement during the process. There was a misunderstanding about how it was supposed to be fireproofed. As per fire code, we had to prove that the garage area was fire resistant, but some sort of a mistake was made when interpreting the architect’s plans and it wasn’t fireproofed properly. After a little back and forth with the architect, he told them how to fix it, and they came back and completed the job.

They got the basement right on the second try. Good enough.
Spiral Ducts
Once the walls were in place, the HVAC guy was able to come in and build the spiral ducts. Since this house was designed for exposed ducts, that part of the job had to be done after the walls were hung, opposite of most houses that have the ducts hidden by the ceilings and the walls.
The tin knocker efficiently installed the spiral duct work throughout the house. I had asked him to keep it as minimal as possible so that it didn’t dominate the appearance of the house but was visible enough to have an effect on what it looks like. I was pretty pleased with how it turned out.
On the first floor, I asked for it to be as high as possible, and to only be as long as necessary to heat and cool the room. He made the duct such that it was close to the wall and went only as far to the north and south as necessary.

The spiral duct that travels most of the length of the first floor.
On the second floor, the ducts come down from the roof and travel through the hallway and the three bedrooms. Again, in the bedrooms, I requested that they only be long enough as necessary to keep the rooms heated and cooled.

The ducts coming in from the ceiling on the second floor.

The duct in the master bedroom.
Carpentry
While the ducts were being installed, my GC brought in the carpenter to proceed with some additional items. First, they installed the molding around the windows and door frames. I asked for the simplest look they could find, and he obliged me with flat molding with as little detail as possible.
Molding in the living room.
We also ordered and installed most of the interior doors throughout the house. I found a few door patterns I liked on line but they were rather pricy. My GC suggested we buy simple, flat doors with no color or pattern and that we can paint and decorate them at a later time.

The master bedroom again, this time with the door and the molding.
I own two cats and I wanted a place to put the litter boxes that was easily accessible to them, but out of the way. I told the GC to claim the bottom two feet of the linen closet in the hallway and leave it open so I can use the space to put the litter boxes. I think it should work out well, I hope the cats use them!

The cat corner is at the bottom of this linen closet.
The carpenter completed some of the outside work as well. He built the deck and stairs from the back door to the back yard. He also put the siding up on the front stairs landing. We reversed some of the charred boards left over from the rest of the front siding and will paint them later on.

The back deck and stairs.
Masonry
My “friend” the mason returned to finish off what was left of his end of the job. After considering if we should just get another guy after the trouble he caused in the beginning, we decided that we should just let him finish and kiss him goodbye. So, he finished off the limestone treads on the front steps, and a few other miscellaneous items on the side and back of the house. I am happy to say that he is done and out of my life!
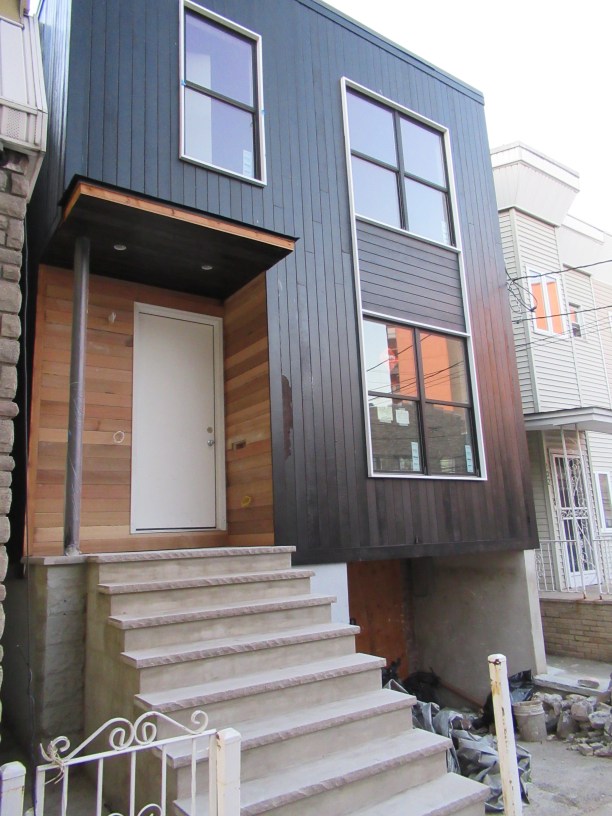
The front steps are done, and the porch carpentry is getting there.
Painting
The GC had a painter come in and prime all the walls throughout the house. This step made it look like we’re finally nearing completion. The ceilings are actually now in their finished state unless I change my mind and paint one of them an actual color.
When the painting was done, the GC had the floor guy come in and sand down and finish the floors on the first and second floor. Then we had them protected with Shark Board so that they won’t get damaged going forward.

The first floor facing the front of the house. Painted and flooring protected.
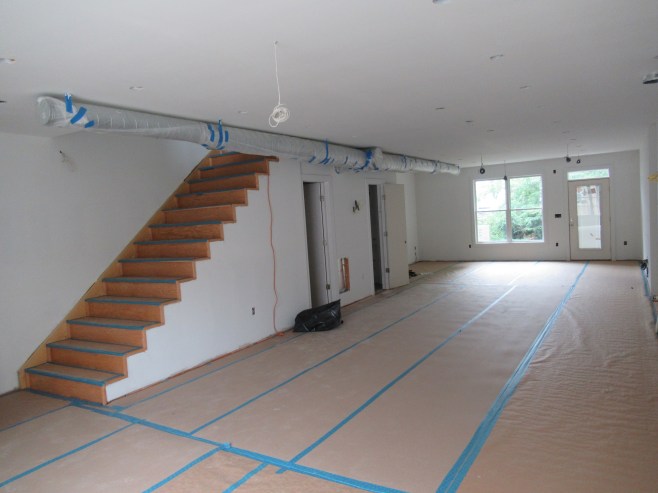
The first floor facing the back of the house. Painted and flooring protected.
What’s Next?
There are a million plates spinning at once right now. The HVAC guy has to install the heating and cooling equipment, which will include bringing a crane in to get everything on to the roof. We ordered an outdoor railing from an iron worker. We picked out an on-demand water heater which needs to be purchased and installed by the plumber.
But the thing I am most excited about is the kitchen. The crown jewel of this house, and the feature that I have spent the most time thinking about these past 2½ years is the kitchen and it is finally getting started. I’ll have more on it in the next blog post, but I had countless meetings with my kitchen designer, and we have finalized the design of the cabinets. The appliances have been ordered and are on their way, and fabrication and installation of the cabinets should be done in the next two weeks.
In addition to the kitchens, the same designer is also building my bathrooms. Most of the major design decisions have been made and most of the tile has been delivered to the house. We were able to come up with some sleek concepts that aren’t going to break the bank for all three bathrooms.
A lot is about to happen in a short period of time. I think that Picasso would be pleased with where things are headed.

[…] those of you who prefer video to reading a blog post, here is the latest walk through of the house. This one details the walls, ducts, and a few other […]
LikeLike